The Witcher Review: CD Projekt's Dark Fantasy Debut
CD Projekt RED's 2007 debut adapted Andrzej Sapkowski's novels into a gritty, choice-driven RPG that put the fledgling studio on the map.
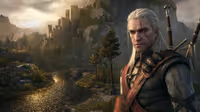
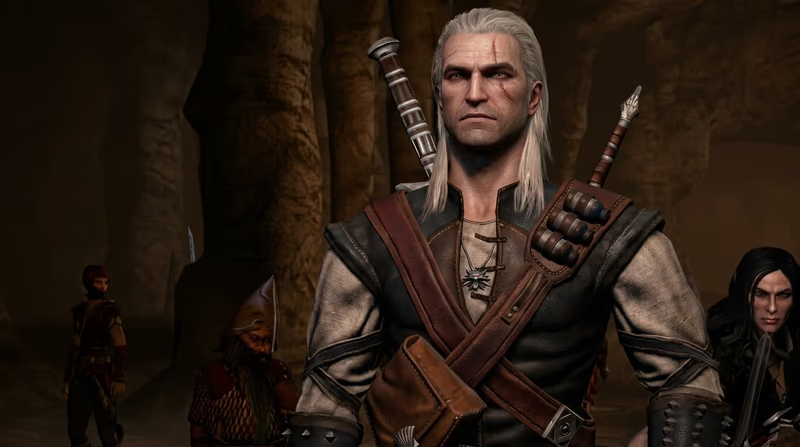
Kaer Morhen's prologue teaches the fighting stances and Signs every new Witcher player needs.
There's no character creator to fuss over here. Geralt of Rivia arrives fully formed, white hair and cat eyes included, and the game drops you straight into Kaer Morhen under siege. That's a deliberate choice: CD Projekt RED wanted the prologue to teach combat and Signs under pressure, not in a sandbox tutorial room.
Treat Kaer Morhen as a four-to-five-hour tutorial dressed up as a siege. Rush it and you'll hit Vizima without understanding the stances or the alchemy screen, which is where most new players stall out.
The single biggest adjustment for anyone coming from a modern action RPG: clicking faster does not make Geralt attack faster. Combat here runs on rhythm. A red cursor flash appears right as his current swing animation ends, and clicking inside that window chains into the next attack. Click outside it and he stumbles through a slow recovery that leaves him open.
Don't judge the combat by the first hour. The timing window feels unforgiving against Kaer Morhen's early bandits, and that's exactly where most quitters bail. Stick with it until the click-timing becomes muscle memory, usually by the time you've cleared the first Outskirts contract.
Signs are magic, but not the fireball-spamming kind. Each one solves a specific tactical problem instead of dealing big direct damage, and leaning on them correctly is what separates a smooth early game from a frustrating one.
Signs run on a separate stamina-like bar called Vigor, which regenerates on its own. Spend it freely in the early game rather than hoarding it. An unused Sign bar doesn't make the next fight any easier.
The alchemy system is the part of The Witcher most beginners misuse, usually by either ignoring it completely or drinking every potion in their inventory before a hard fight. Both approaches get Geralt killed.
Swallow (health regen) and Cat (night vision plus bonus damage in darkness) are the two potions worth prioritizing before the first real dungeon crawl. Save Golden Oriole and the toxicity-resistance brews for later chapters once you understand your own tolerance.
Geralt carries two swords at once, and picking the wrong one mid-fight is one of the fastest ways to lose a bar of health you didn't need to lose.
Forgetting to swap blades mid-encounter is the single most common cause of an "unfairly hard" early fight that beginners report. It's rarely the combat system's fault.
Chapter 1 drops Geralt into the Outskirts of Vizima, a swampy, quest-dense hub that's also the game's weakest-looking and most sluggish stretch. Knowing what to prioritize here saves hours of wandering.
Expect six to eight hours in the Outskirts if you're doing side content. That's normal, not a sign you're doing something wrong.
The Witcher never shows a morality meter, and that absence trips up players expecting a Paragon/Renegade-style system. Every dialogue choice here changes who's alive later, not a visible alignment score.
Play Chapter 1 the way you'd actually react to the people in front of you. The game rewards consistency of character more than it rewards any specific optimal path.

Affiliate link: Support the blog via Instant Gaming at no extra cost.
The Witcher
Others Posts
CD Projekt RED's 2007 debut adapted Andrzej Sapkowski's novels into a gritty, choice-driven RPG that put the fledgling studio on the map.
Blizzard North's Diablo turned a slow, grid-based roguelike pitch into a real-time click-fest that invented the loot-driven dungeon crawler, built on randomized levels and a single, endless staircase down.
New to Tristram? Learn which class to pick, how to survive the Cathedral's first levels, and why hoarding gold at Griswold's matters more than your weapon.
Wasteland 2: Director's Cut—inXile's crowdfunding triumph, brutal moral choices, tactical squad-based survival, and post-apocalyptic roleplaying.
Blizzard's StarCraft proved three wildly asymmetric factions could stay perfectly balanced, turning a Warcraft II engine refit into the game that built South Korea's esports industry and defined competitive RTS for a generation.
Valve took the tightest puzzle design in the industry, doubled the toolset, added a co-op campaign and two of gaming's best-written characters, and somehow made the sequel better than the original.

Anno 1800 rebuilds the series around the smoke and steel of the second Industrial Revolution, turning supply-chain logistics into the genre's richest city-building puzzle.
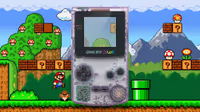
An engineering retrospective on the Nintendo Game Boy Color. We explore how a double-speed Sharp SM83 core, a backward-compatible palette-mapped color LCD, and translucent 'Atomic Purple' shells turned a stopgap handheld into the system that carried Pokémon's second generation.

Analysis of the PlayStation 4 and PS4 Pro hardware. We examine the shared CPU bottleneck, the mirrored butterfly GPU design, memory optimizations, and the hardware-level checkerboard rendering that enabled the 4K transition.
games
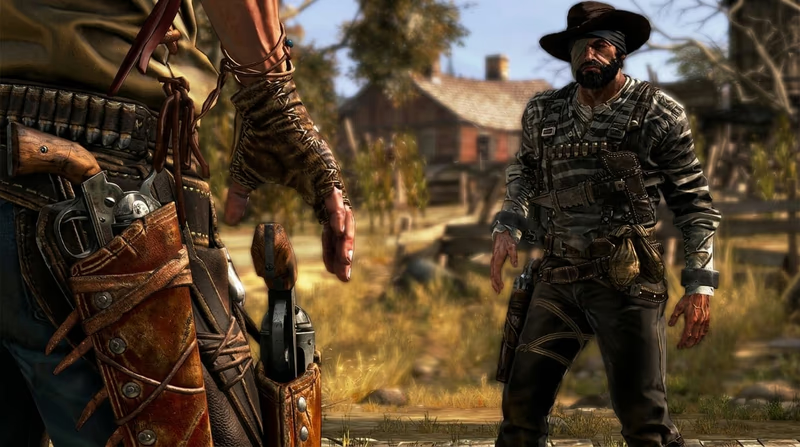
Techland traded gritty realism for painterly legend in this arcade-shooter retelling of the Old West's most famous gunslingers, bounty hunters, and outlaws.
